Build a Web Service with Vapor
The source code for this guide can be found on GitHub
Installing Swift
If you don’t have Swift installed, install it first.
To test that you have Swift installed, run swift --version from your shell or terminal app.
Swift comes bundled with the Swift Package Manager (SwiftPM), which manages the distribution of your Swift code, and allows easy importing of other Swift packages into your apps.
Choosing a web framework
Over the years, the Swift community created several web frameworks designed to help building web services. This guide focuses on the Vapor web framework, a popular choice within the community.
Installing Vapor
First, you need to install the Vapor toolbox. If you already have Homebrew installed on macOS, run
brew install vapor
If you’re running on a different OS or want to install the toolbox from source, see the Vapor docs for how to do so.
Creating a Project
Then, in your terminal in a directory where you want to create the new project run:
vapor new HelloVapor
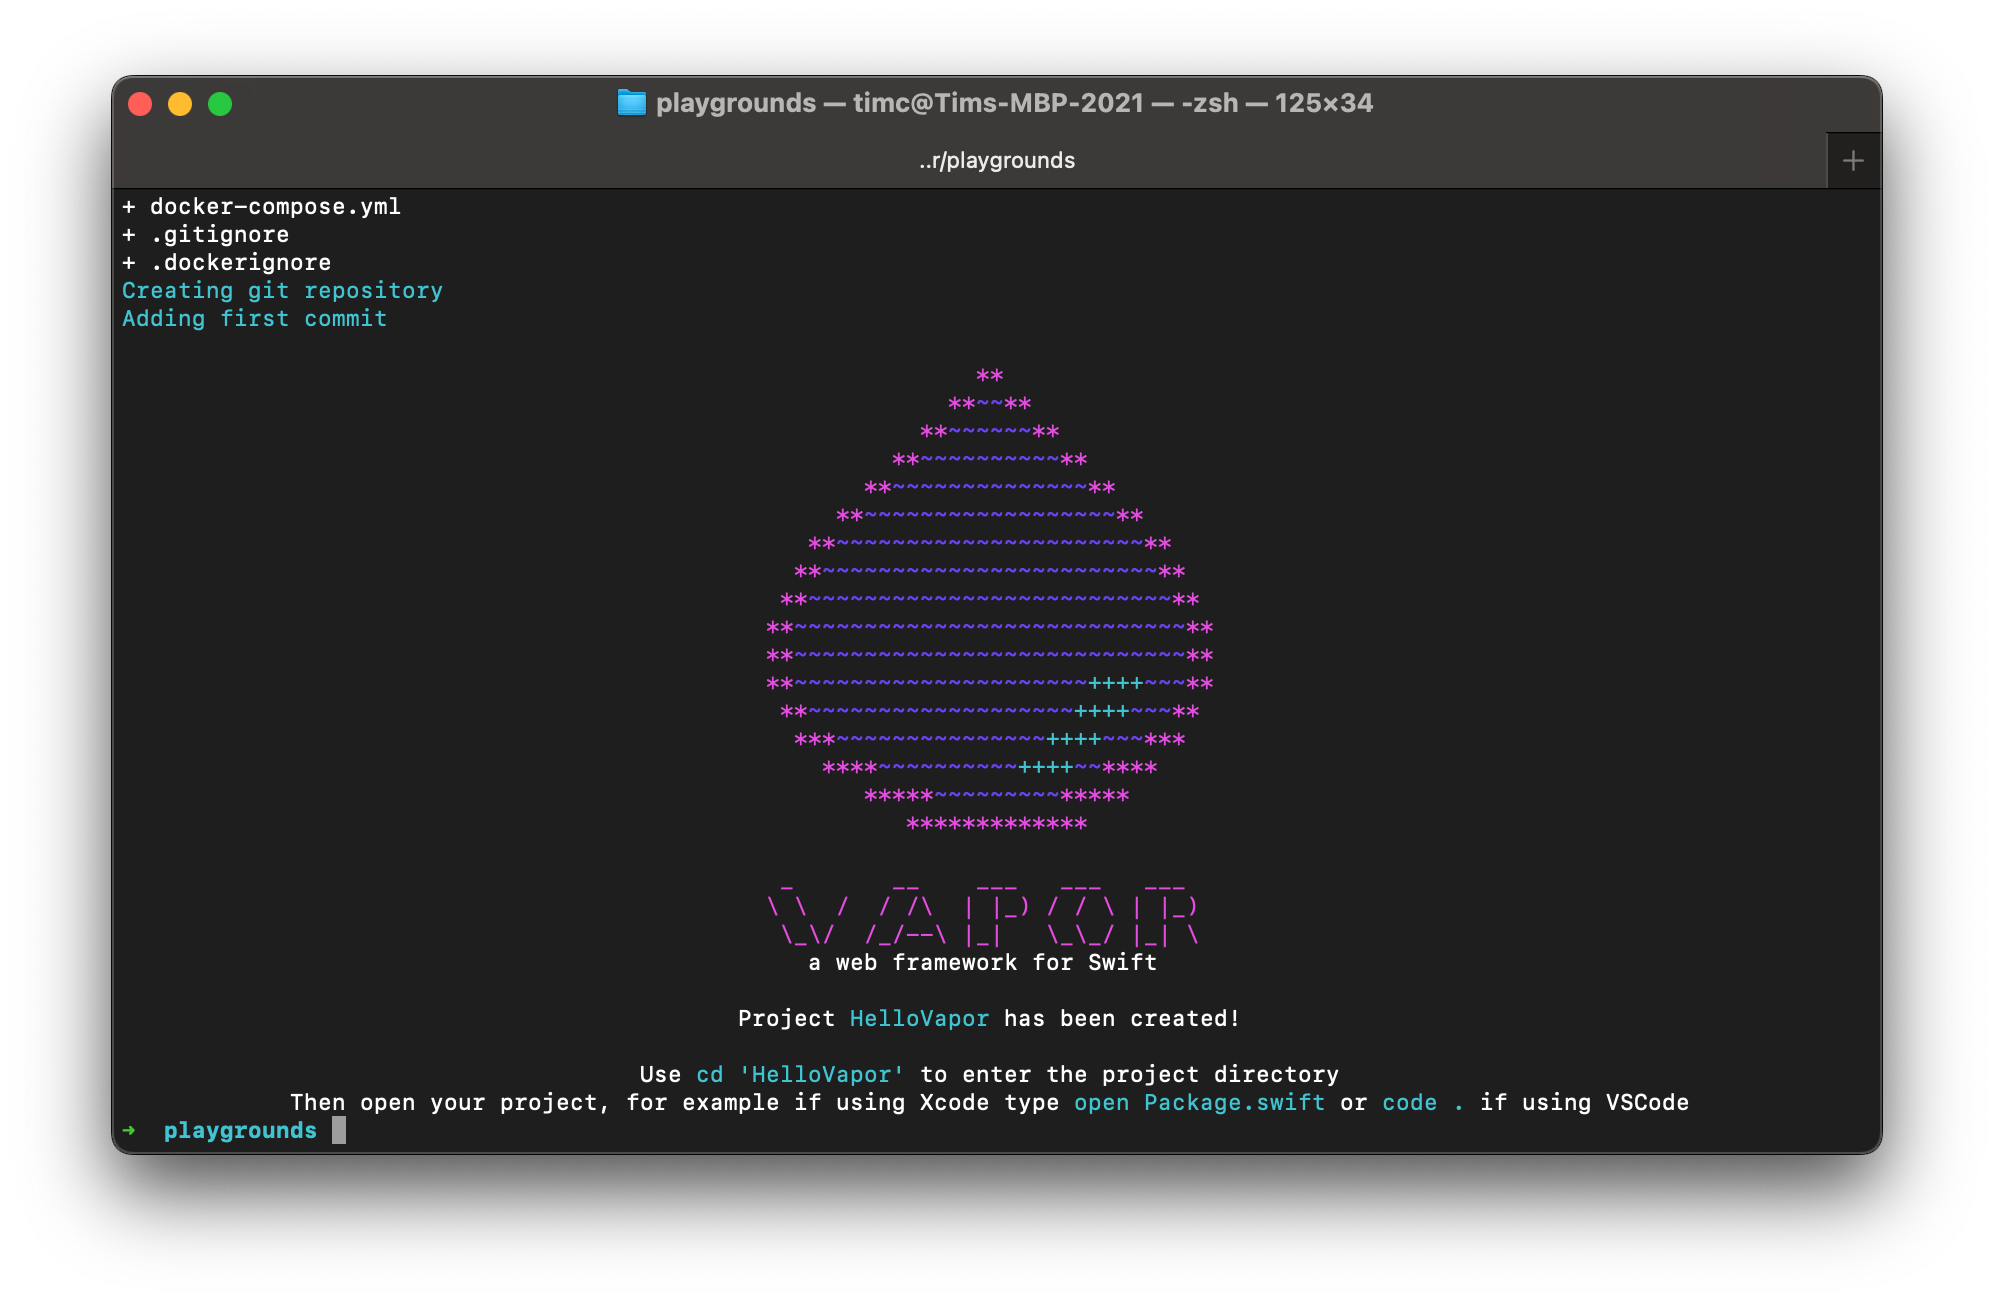
This pulls down a template and asks you a series of questions to create a simple project with everything you need to get started. This guide will create a simple REST API that you can send and receive JSON to and from. So answer no to all other questions. You’ll see the project created successfully:
Navigate into the created directory and open the project in your IDE of choice. For instance, to use VSCode run:
cd HelloVapor
code .
For Xcode, run:
cd HelloVapor
open Package.swift
Vapor’s template contains a number of files and functions already set up for you. configure.swift contains the code to configure your application and routes.swift contains route handler code.
Creating Routes
First, open routes.swift and create a new route to say hello to anyone accessing your site by declaring a new route below app.get("hello") { ... }:
// 1
app.get("hello", ":name") { req async throws -> String in
    // 2
    let name = try req.parameters.require("name")
    // 3
    return "Hello, \(name.capitalized)!"
}
Here’s what the code does:
- Declare a new route handler registered as a GET request to
/hello/<NAME>. The:denotes a dynamic path parameter in Vapor and will match any value and allow you to retrieve it in your route handler.app.get(...)takes a closure as the final parameter that can be asynchronous and must return aResponseor something conforming toResponseEncodable, such asString. - Get the name from the parameters. By default, this returns a
String. If you want to extract another type, such asIntorUUIDyou can writereq.parameters.require("id", as: UUID.self)and Vapor will attempt to cast it to the type and automatically throw an error if it’s unable to. This throws an error if the route hasn’t been registered with the correct parameter name. - Return the
Response, in this case aString. Note that you don’t need to set a status code, response body or any headers. Vapor handles this all for you, whilst allowing you to control theResponsereturned if needed.
Save the file and build and run the app:
$ swift run
Building for debugging...
...
Build complete! (59.87s)
[ NOTICE ] Server starting on http://127.0.0.1:8080
Send a GET request to http://localhost:8080/hello/tim. You’ll get the response back:
$ curl http://localhost:8080/hello/tim
Hello, Tim!
Try it with different names to see it change automatically!
Returning JSON
Vapor uses Codable under the hood to make it easy to send and receive JSON, using a wrapper protocol called Content to add a few extra features. Next, you’ll return a JSON body with the message from the Hello! route. First, create a new type at the bottom of routes.swift:
struct UserResponse: Content {
    let message: String
}
This defines a new type that conforms to Content that matches the JSON you want to return.
Create a new route below app.get("hello", ":name") { ... } to return this JSON:
// 1
app.get("json", ":name") { req async throws -> UserResponse in
    // 2
    let name = try req.parameters.require("name")
    let message = "Hello, \(name.capitalized)!"
    // 3
    return UserResponse(message: message)
}
Here’s what this code does:
- Define a new route handler that handles a GET request to
/json. Importantly, the return type for the closure isUserResponse. - Get the name as before and construct the message.
- Return the
UserResponse.
Save and build and run the app again and send a GET request to http://localhost:8080/json/tim:
$ curl http://localhost:8080/json/tim
{"message":"Hello, Tim!"}
This time, you get JSON back!
Handling JSON
Finally, we’ll cover how to receive JSON. At the bottom of routes.swift, create a new type to model JSON you’ll send to the server app:
struct UserInfo: Content {
    let name: String
    let age: Int
}
This contains two properties, a name and an age. Then, below the JSON route, create a new route to handle a POST request with this body:
// 1
app.post("user-info") { req async throws -> UserResponse in
    // 2
    let userInfo = try req.content.decode(UserInfo.self)
    // 3
    let message = "Hello, \(userInfo.name.capitalized)! You are \(userInfo.age) years old."
    return UserResponse(message: message)
}
The important differences in this new route handler are:
- Use
app.post(...)instead ofapp.get(...)as this route handler is a POST request. - Decode the JSON from the request body.
- Use the data from the JSON body to create a new message.
Send a POST request with a valid JSON body and see your response:
$ curl http://localhost:8080/user-info -X POST -d '{"name": "Tim", "age": 99}' -H "Content-Type: application/json"
{"message":"Hello, Tim! You are 99 years old."}
Congratulations! You’ve built your first web server in Swift!
The source code for this guide can be found on GitHub