Byte-sized Swift: Building Tiny Games for the Playdate

I’m excited to share swift-playdate-examples, a technical demonstration of using Swift to build games for Playdate, a handheld game system by Panic.
Why Swift?
Swift is widely known as the modern language for app development on Apple devices. However, over the course of its first decade, it has grown into a versatile, multi-platform language targeting use cases where you’d otherwise find C or C++.
Personally, I have come to appreciate Swift’s emphasis on memory safety and great ergonomics, and want these traits for embedded systems where reliability and security are critically important.
But embedded systems are not only found in mission-critical applications. Some are actually all fun and games.
Playdate by Panic
Over the holiday season, I read about building Playdate games in C and became curious if the same was possible in Swift. For those unfamiliar with Playdate, it is a tiny handheld game system built by Panic, creators of popular apps and games like “Transmit,” “Nova,” “Firewatch,” “Untitled Goose Game,” and more. It houses a Cortex M7 processor, a 400 by 240 1-bit display, and has a small runtime for hosting games. Additionally, Panic provides an SDK for building games in both C and Lua.
While most Playdate games are written in Lua for ease of development, they can run into performance problems that necessitate the added complexity of using C. Swift’s combination of high-level ergonomics with low-level performance, as well as its strong support for interoperating with C, make it seem like a good match for the Playdate. However, the typical Swift application and runtime exceed the device’s tight resource constraints.
Regardless, I still wanted to create a game in Swift and I had a good idea for the approach.
The Embedded Language Mode
Recently, the Swift project began developing a new embedded language mode to support highly constrained platforms. This mode utilizes generic specialization, inlining, and dead code stripping to produce tiny binaries, while retaining the core features of Swift.
Note: The embedded language mode is actively evolving and is helping drive the development of language features such as: non-copyable types, typed throws, etc. It is available now in nightly toolchains and if you’re curious to learn more, check out the Vision for Embedded Swift.
These defining characteristics make the embedded language mode a great solution for shrinking Swift to fit the Playdate’s constraints.
With the embedded Swift language mode in hand, I got to work.
The Games
I wrote two small games in Swift for the Playdate. The first game is a port of the Playdate SDK sample of Conway’s Game of Life into Swift:

This game is one Swift file that builds directly against the Playdate C API and does not require dynamic memory allocation. The packaged game clocks in at 788 bytes, slightly smaller than the C example, which is 904 bytes.
$ wc -c < $REPO_ROOT/Examples/Life/Life.pdx/pdex.bin
     788

$ wc -c < $HOME/Developer/PlaydateSDK/C_API/Examples/GameOfLife.pdx/pdex.bin
     904
Note: Both versions could likely be made smaller, but I did not try to optimize code size.
The second game is a paddle-and-ball style game named “Swift Break.”
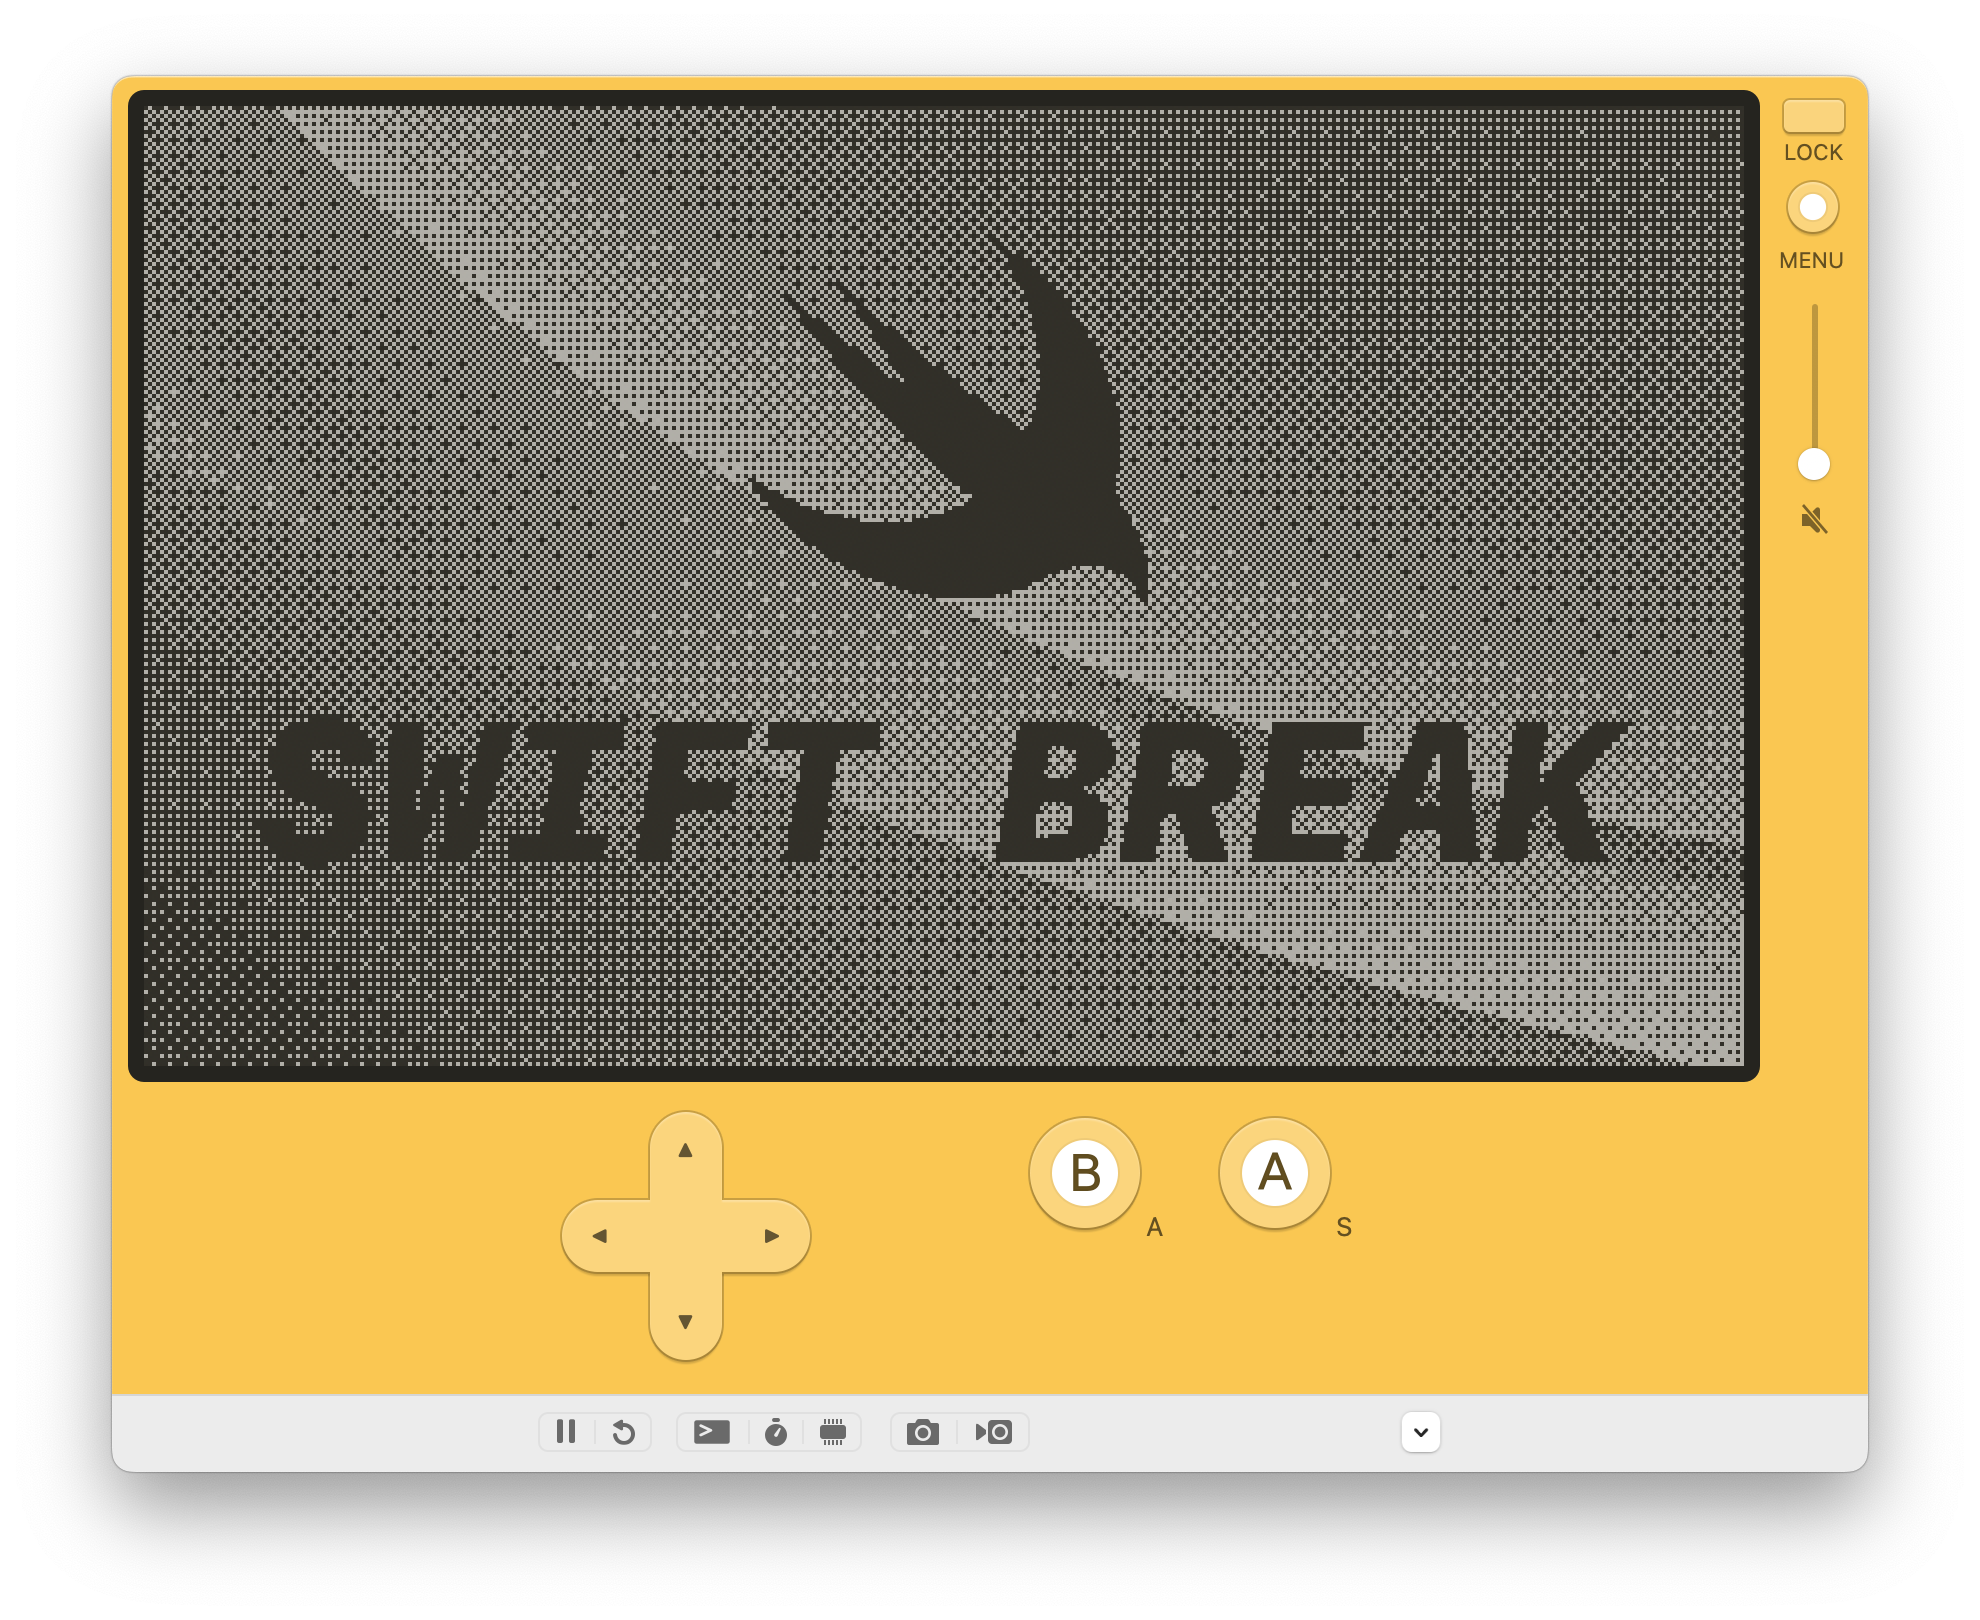
Swift Break uses the same high-level language features you’d find in desktop and server applications, such as enums with associated values, generic types and functions, and automatic memory management to simplify game development while retaining C-level performance.
For example, here’s the core game logic for handling ball bounces:
sprite.moveWithCollisions(goalX: newX, goalY: newY) { _, _, collisions in
  for collision in collisions {
    let otherSprite = Sprite(borrowing: collision.other)

    // If we hit a visible brick, remove it.
    if otherSprite.tag == .brick, otherSprite.isVisible {
      otherSprite.removeSprite()
      activeGame.bricksRemaining -= 1
    }

    var normal = Vector(collision.normal)

    if otherSprite.tag == .paddle {
      // Compute deflection angle (radians) for the normal in domain
      // -pi/6 to pi/6.
      let placement = placement(of: collision, along: otherSprite)
      let deflectionAngle = placement * (.pi / 6)
      normal.rotate(by: deflectionAngle)
    }

    activeGame.ballVelocity.reflect(along: normal)
  }
}
It calls a moveWithCollisions method to move the ball, iterating through a collection of objects the ball bounced off of while moving.
Swift Break features a splash screen, a pause menu, paddle-location-based bounce physics, infinite levels, a game over screen, and allows you to control the paddle with either the D-Pad or the Crank!
Try it Out
If you’re eager to use Swift on your Playdate, the swift-playdate-examples repository has you covered. It contains the above ready-to-use examples that demonstrate how to build Swift games for the Playdate, both for the simulator and the hardware.
Additionally, the repository includes detailed documentation to guide you through the setup process. Whether you’re a seasoned developer or just starting, you’ll find the necessary resources to bring your ideas to life.
But if you’re up for a deep dive into the technical details of what it takes to bring Swift to a new platform, read on!
Deep Dive: Bringing Swift to the Playdate
Bringing up a new platform is always fraught with challenges and infuriating bugs. Everything is broken with numerous false starts, until you clear the last bug, and then it all comes together. Getting Swift games running on the Playdate was no different.
My general approach was to leverage Swift’s interoperability to build on top of the Playdate C SDK. The good news is that the Swift toolchain already had all the features I needed to get this working. I just had to figure out how to put them together. Here’s an overview of the path I took:
- Building object files for the Playdate Simulator
- Importing the Playdate C API
- Running on the Simulator
- Running on the Hardware
- Improving the API with Swift
- Completing Swift Break
Without further ado, let’s get started.
Building object files for the Playdate Simulator
Note: The commands mentioned below were run with a Swift nightly toolchain installed and have the
TOOLCHAINSenvironment variable set to the name of the toolchain.
My first step was compiling an object file for the Playdate Simulator. The simulator works by dynamically loading host libraries, so I needed to build the object files for the host’s platform and architecture (the so-called triple in compiler-speak), which swiftc does by default. The only additional flags I needed were for enabling embedded Swift and code optimizations.
$ cat test.swift
let value = 1

$ mkdir build

$ swiftc -c test.swift -o build/test.o \
    -Osize -wmo -enable-experimental-feature Embedded

$ file build/test.o
test.o: Mach-O 64-bit object arm64
Importing the Playdate C API
The next step was compiling against the Playdate C API from Swift. This was straightforward due to the structure of the Playdate C header files and Swift’s native support for interoperating with C.
I started by locating the Playdate C header files:
$ ls $HOME/Developer/PlaydateSDK/C_API/
Examples     buildsupport pd_api       pd_api.h

$ ls $HOME/Developer/PlaydateSDK/C_API/pd_api
pd_api_display.h     pd_api_gfx.h         pd_api_lua.h         pd_api_sound.h       pd_api_sys.h
pd_api_file.h        pd_api_json.h        pd_api_scoreboards.h pd_api_sprite.h
And used an “include search path” (-I) to tell the Swift compiler’s C interoperability feature where to find them. I additionally needed to pass a “define” (-D) to tell the compiler how to parse the header files:
$ swiftc ... -Xcc -I -Xcc $HOME/Developer/PlaydateSDK/C_API/ -Xcc -DTARGET_EXTENSION
Next, I created a module map file to wrap the headers into an importable module from Swift:
$ cat $HOME/Developer/PlaydateSDK/C_API/module.modulemap
module CPlaydate [system] {
  umbrella header "pd_api.h"
  export *
}
And used an “import search path” (-I) to tell the Swift compiler where to find the CPlaydate module:
$ swiftc ... -I $HOME/Developer/PlaydateSDK/C_API/
Lastly, I made a minimal “library” using the Playdate C API from Swift and compiled using the flags above:
$ cat test.swift
import CPlaydate
let pd: UnsafePointer<PlaydateAPI>? = nil

$ mkdir build

$ swiftc \
    -c test.swift \
    -o build/test.o \
    -Osize -wmo -enable-experimental-feature Embedded \
    -Xcc -I -Xcc $HOME/Developer/PlaydateSDK/C_API/ \
    -Xcc -DTARGET_EXTENSION \
    -I $HOME/Developer/PlaydateSDK/C_API/

$ file build/test.o
test.o: Mach-O 64-bit object arm64
Running on the Simulator
Once I was able to use the Playdate C API from Swift, I ported the Conway’s Game of Life example included in the Playdate SDK to Swift, referencing Inside Playdate with C frequently to familiarize myself with the API.
The C implementation of Conway’s strictly operates on Playdate OS-vended frame buffers and uses the display as game state, removing the need for separate data structures and dynamic allocations. As a result, the porting process was very mechanical because the bit manipulation and pointer operations in the C example have direct Swift analogs:
static inline int val(uint8_t* row, int x) {
    return 1 - ((row[x/8] >> (7 - (x%8))) & 1);
}

static inline int ison(uint8_t* row, int x) {
    return !(row[x/8] & (0x80 >> (x%8)));
}
struct Row {
  var buffer: UnsafeMutablePointer<UInt8>

  func value(at column: Int32) -> UInt8 {
    isOn(at: column) ? 1 : 0
  }

  func isOn(at column: Int32) -> Bool {
    let byte = buffer[Int(column / 8)]
    let bitPosition = 0x80 >> (column % 8)
    return (byte & bitPosition) == 0
  }
}
I built the source into a dynamic library and used pdc (the Playdate compiler) to wrap the final dylib into a pdx (Playdate executable).
$ swiftc \
    -emit-library test.swift \
    -o build/pdex.dylib \
    ...

$ file build/pdex.dylib
pdex.dylib: Mach-O 64-bit dynamically linked shared library arm64

$ $HOME/Developer/PlaydateSDK/bin/pdc build Test

$ ls Test.pdx
pdex.dylib pdxinfo
I opened my game file Test.pdx using the Playdate simulator and as you might expect, it worked on the first try … just kidding, it crashed!
After some debugging, I realized the Makefile used to compile the C example included an additional file setup.c from the SDK containing the symbol _eventHandlerShim needed to bootstrap the game. If this symbol is not present in the binary, the Simulator falls back to bootstrapping the game using the symbol _eventHandler which my binary did contain, but meant my game skipped an important setup step.
So, I compiled setup.c into an object file using clang, linked it into my dynamic library, re-ran, and voila! I had Conway’s Game of Life written in Swift running on the Playdate Simulator.
Running on the Hardware
After successfully running on the simulator, I wanted to run the game on real hardware. A colleague graciously allowed me to borrow their Playdate and I began hacking away.
I started by matching the triple used by the C examples for the device and seeing what happened.
$ swiftc ... -target armv7em-none-none-eabi
<module-includes>:1:10: note: in file included from <module-includes>:1:
#include "pd_api.h"
         ^
$HOME/Developer/PlaydateSDK/C_API/pd_api.h:13:10: error: 'stdlib.h' file not found
#include <stdlib.h>
         ^
These errors did not previously occur because I was targeting the host machine and used the host headers for the C standard library. I considered using the same host headers for the target device, but didn’t want to debug platform incompatibilities. Little did I know, I would have to do this regardless.
Instead, I decided to follow the route used by the C example programs which leverage the libc headers from a gcc toolchain installed with the Playdate SDK. I copied the include paths used by the C examples and re-ran the compile.
$ mkdir build

$ GCC_LIB=/usr/local/playdate/gcc-arm-none-eabi-9-2019-q4-major/lib

$ swiftc \
    -c test.swift \
    -o build/test.o \
    -target armv7em-none-none-eabi \
    -Osize -wmo -enable-experimental-feature Embedded \
    -I $HOME/Developer/PlaydateSDK/C_API/ \
    -Xcc -DTARGET_EXTENSION \
    -Xcc -I -Xcc $HOME/Developer/PlaydateSDK/C_API/ \
    -Xcc -I -Xcc $GCC_LIB/gcc/arm-none-eabi/9.2.1/include \
    -Xcc -I -Xcc $GCC_LIB/gcc/arm-none-eabi/9.2.1/include-fixed \
    -Xcc -I -Xcc $GCC_LIB/gcc/arm-none-eabi/9.2.1/../../../../arm-none-eabi/include

$ file build/test.o
test.o: ELF 32-bit LSB relocatable, ARM, EABI5 version 1 (SYSV), not stripped
The compile succeeded and I had an object file for the real hardware. I went through similar steps to link and package the object file into a pdx, using clang as the linker driver.
I deployed the game onto a Playdate, and … it crashed.
For some reason, when the frame-update function pointer was called, the game would crash! Debugging this issue was confusing at first, but due to past experience deploying Swift onto a Cortex M7, I realized I likely had a calling convention mismatch. I added a compiler flag -Xfrontend -experimental-platform-c-calling-convention=arm_aapcs_vfp to try to match the calling convention used by the Playdate OS.
Once again, I deployed my game to the Playdate and … it actually worked! You can see the game in action below:
I then integrated my manual compilation steps into the Makefiles found in the Playdate SDK, going through a number of options before landing on the final solution found in swift-playdate-examples. The result of this effort was a single make command to build a pdx compatible with both the simulator and hardware!
Improving the API with Swift
After porting Conway’s Game of Life, I began a more ambitious project: a paddle-and-ball style game named Swift Break. However, I quickly encountered friction using the raw Playdate C API directly in Swift. In typical programming fashion, I took a detour to work on the API’s ergonomics instead of the game! At this point, I had also piqued the interest of some colleagues who contributed further improvements.
One hurdle was the naming conventions of the imported API. In C, enum cases are often prefixed with their type’s name to prevent programmers from inadvertently mixing unrelated enum instances and case constants. However, in Swift, such prefixes are unnecessary as the compiler type-checks comparisons to ensure the correct cases are used.
Fortunately, Swift already provides tools for addressing this precise issue, known as API notes. I added an API notes file to the Playdate SDK and renamed enum cases with more idiomatic Swift names:
// Before
if event == kEventPause { ... }

// After
if event == .pause { ... }
A bigger issue, however, was the lack of nullability annotations in the C API. This meant the generated code had redundant null checks everywhere, bloating code size and hurting performance. While I usually would have used API notes to add the missing annotations, this was not possible. The C API uses structs with function pointers as a “vtable”, and unfortunately, these are not currently modifiable with API notes. Due to this incompatibility, I had to adopt a suboptimal solution: pervasively using Optional.unsafelyUnwrapped throughout the Swift code.
Although this approach eliminated the null checks, it dramatically hurt readability:
// C API in Swift with redundant null checks
let spritePointer = playdate_api.pointee.sprite.pointee.newSprite()

// C API in Swift without redundant null checks
let spritePointer = playdate_api.unsafelyUnwrapped.pointee.sprite.unsafelyUnwrapped.pointee.newSprite.unsafelyUnwrapped()
To address the readability issues, I created a thin Swift overlay on top of the C API. I wrapped function pointer accesses into static and instance methods on Swift types and converted function get/set pairs to Swift properties. Creating a sprite became much more intuitive and introduced zero overhead on top of the equivalent imported C calls.
var sprite = Sprite(bitmapPath: "background.png")
sprite.collisionsEnabled = false
sprite.zIndex = 0
sprite.addSprite()
Colleagues further improved the overlay by abstracting Playdate APIs requiring manual memory management to be automatically handled. An excellent example is the C API’s moveWithCollisions function, which returns a buffer of SpriteCollisionInfo structs that must be freed by the caller. Using the overlay allowed us to avoid manually deallocating the buffer and made the API easier to use:
// moveWithCollisions without the overlay
var count: Int32 = 0
var actualX: Int32 = 0
var actualY: Int32 = 0
let collisionsStartAddress = playdate_api.pointee.sprite.pointee.moveWithCollisions(sprite, 10, 10, &actualX, &actualY, &count)
let collisions = UnsafeBufferPointer(start: collisionsStartAddress, count: count)
defer { collisions.deallocate() }
for collision in collisions { ... }

// moveWithCollisions with the overlay
sprite.moveWithCollisions(goalX: 10, goalY: 10) { actualX, actualY, collisions in
    for collision in collisions { ... }
}
These improvements dramatically streamlined writing code for the Playdate. Additionally, as Swift’s support for ownership and non-copyable types improves, I anticipate even more ergonomic representations of the C APIs without language overhead.
Completing Swift Break
Equipped with a refined Swift Playdate API, I returned to developing Swift Break.
I nailed down the basics pretty quickly, but couldn’t resist adding extra features just for the fun of it. One of the highlights was implementing basic logic to deflect ball bounces based on the location where the ball and paddle collide.
This feature required calculating a normal vector relative to a hypothetical curve representing a rounded paddle and then reflecting the ball’s velocity about the normal. Here’s a visualization of the intended behavior:
Note: Making the animation for this post ironically helped me root cause a bug in the bouncing logic. Under some combinations of entry angle and normal angle, the current design can cause the ball to bounce down into the paddle instead of up.
To turn the math into an algorithm, I had to perform the following steps:
- Check if the object the ball collided with is the paddle
- Compute the location of the collision along the paddle from -1 to +1
- Map the location into a deflection angle from -π/6 to +π/6
- Rotate the collision normal vector by the deflection angle
- Reflect the ball’s velocity along the rotated normal
I then directly translated this algorithm into code inside the ball collision callback:
if otherSprite.tag == .paddle {                                // 1
  let placement = placement(of: collision, along: otherSprite) // 2
  let deflectionAngle = placement * (.pi / 6)                  // 3
  normal.rotate(by: deflectionAngle)                           // 4
}
ballVelocity.reflect(along: normal)                            // 5
Running on the Hardware (Again!)
Throughout the development of “Swift Break,” I regularly deployed the game to the Playdate Simulator. However, the real challenge emerged when I decided to run the game on actual Playdate hardware. As usual, I loaded the game, and … yet again, it crashed, but this time a lot of things were going wrong.
To cut a long debugging story short, I found that the -Xfrontend flag mentioned earlier did not entirely resolve the calling convention issues. To address this, I needed to configure the compiler to match the CPU and floating-point ABI of the microcontroller in the Playdate. This aspect was overlooked when I was porting Conway’s Game of Life since I happened to both not pass structs by value and didn’t use floating-point operations.
The final and most confusing crash arose from a specific Playdate C API call returning an enum from the Playdate OS. After a thorough debugging process, e.g. using printf everywhere, I uncovered a discrepancy in the memory layout of the enum between the system built with gcc and the game built with swiftc. With further research I found the difference stemmed from gcc defaulting to -fshort-enums while swiftc via clang used -fno-short-enums for the armv7em-none-none-eabi triple.
I collected these new and removed flags into the following compile command:
$ swiftc \
    -c test.swift \
    -o build/test.o \
    -target armv7em-none-none-eabi \
    -Osize -wmo -enable-experimental-feature Embedded \
    -I $HOME/Developer/PlaydateSDK/C_API \
    -Xcc -D__FPU_USED=1 \
    -Xcc -DTARGET_EXTENSION \
    -Xcc -falign-functions=16 \
    -Xcc -fshort-enums \
    -Xcc -mcpu=cortex-m7 \
    -Xcc -mfloat-abi=hard \
    -Xcc -mfpu=fpv5-sp-d16 \
    -Xcc -mthumb \
    -Xcc -I -Xcc $HOME/Developer/PlaydateSDK/C_API/ \
    -Xcc -I -Xcc $GCC_LIB/gcc/arm-none-eabi/9.2.1/include \
    -Xcc -I -Xcc $GCC_LIB/gcc/arm-none-eabi/9.2.1/include-fixed \
    -Xcc -I -Xcc $GCC_LIB/gcc/arm-none-eabi/9.2.1/../../../../arm-none-eabi/include \
    -Xfrontend -disable-stack-protector \
    -Xfrontend -experimental-platform-c-calling-convention=arm_aapcs_vfp \
    -Xfrontend -function-sections
With these adjustments, I attempted once more, and finally “Swift Break” successfully ran on the Playdate hardware! I’ve included a brief video showcasing the game below:
Wrapping Up
Thanks for diving into the bring-up journey with me. From refining the Swift Playdate API to tackling issues involving calling conventions, CPU configurations, and memory layout disparities, there was no shortage of challenges.
However, with the issues now resolved, creating Playdate games in Swift is a streamlined process. Just run make and enjoy a development experience with Swift that is both expressive and performant.
You can find all the code examples mentioned in this post in the swift-playdate-examples repository with accompanying “Getting Started” documentation.
I hope this post encourages you to explore the possibilities of using Swift in unconventional environments. Feel free to reach out with your experiences, questions, or game ideas on the Swift Forums!
Happy coding! 🎮