Deploying to DigitalOcean
This guide will walk you through setting up an Ubuntu virtual machine on a DigitalOcean Droplet. To follow this guide, you will need to have a DigitalOcean account with billing configured.
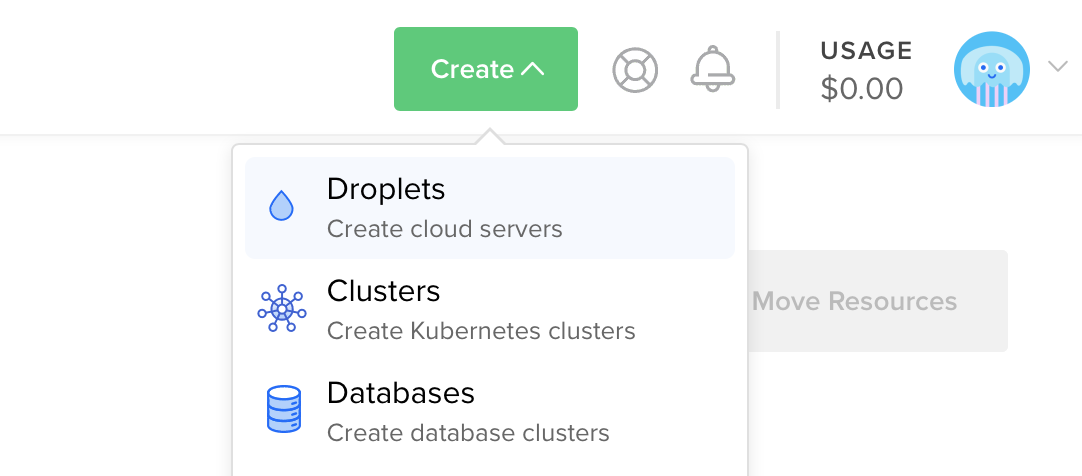
Create Server
Use the create menu to create a new Droplet.
Under distributions, select Ubuntu 18.04 LTS.
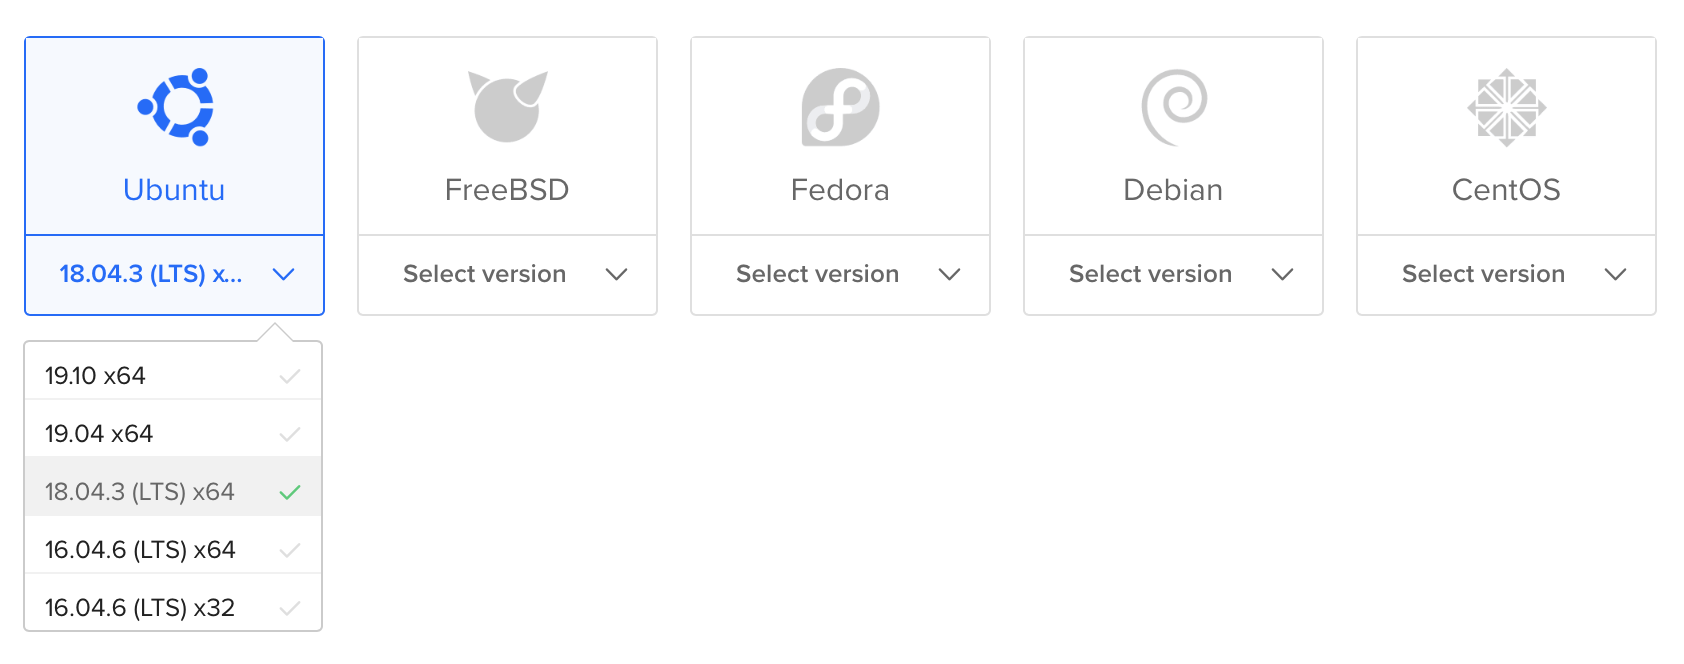
Note: You may select any version of Linux that Swift supports. You can check which operating systems are officially supported on the Swift Releases page.
After selecting the distribution, choose any plan and datacenter region you prefer. Then setup an SSH key to access the server after it is created. Finally, click create Droplet and wait for the new server to spin up.
Once the new server is ready, hover over the Droplet’s IP address and click copy.

Initial Setup
Open your terminal and connect to the server as root using SSH.
ssh root@<server_ip>
DigitalOcean has an in-depth guide for initial server setup on Ubuntu 18.04. This guide will quickly cover the basics.
Configure Firewall
Allow OpenSSH through the firewall and enable it.
ufw allow OpenSSH
ufw enable
Then enable a non-root accessible HTTP port.
ufw allow 8080
Add User
Create a new user besides root that will be responsible for running your application. This guide uses a non-root user without access to sudo for added security.
The following guides assume the user is named swift.
adduser swift
Copy the root user’s authorized SSH keys to the newly created user. This will allow you to use SSH (scp) as the new user.
rsync --archive --chown=swift:swift ~/.ssh /home/swift
Your DigitalOcean virtual machine is now ready. Continue using the Ubuntu guide.